When your lease is coming to an end, it’s time to start thinking about that final, all-important task – the end of lease cleaning. Whether you’re a tenant wanting to ensure your security deposit is returned or a landlord preparing a property for new occupants, understanding the nuances of end of lease cleaningis essential.
This guide provides seven crucial insights to help you navigate the process with confidence, ensuring a smooth transition for all parties involved.
1. Understand Your Lease Agreement
Before diving into the cleaning process, it’s imperative to thoroughly review your lease agreement. Your lease contract often includes specific requirements regarding the condition the property should be in at the end of the tenancy. These requirements may cover everything from general cleanliness to the condition of appliances and fixtures.
By understanding these terms, you can tailor your cleaning efforts to meet the specific expectations outlined in your lease agreement. This not only helps you get your security deposit back but also avoids potential disputes with your landlord.
2. Create a Comprehensive Cleaning Checklist
The key to effective end of lease cleaning is organization. To ensure no area is overlooked, create a comprehensive cleaning checklist. Start with a room-by-room breakdown, including all fixtures, appliances, and surfaces. Common items to include on your list are:
- Dusting and wiping all surfaces, including shelves, countertops, and window sills.
- Cleaning windows, mirrors, and glass surfaces.
- Vacuuming and mopping floors.
- Cleaning and sanitizing appliances, including the oven, refrigerator, and microwave.
- Wiping down light fixtures and ceiling fans.
- Removing cobwebs and ensuring no stains or marks are left on walls.
- Cleaning and disinfecting bathrooms, including the toilet, shower, and sink.
Having a checklist ensures that you methodically address each aspect of your property, leaving it in top condition.
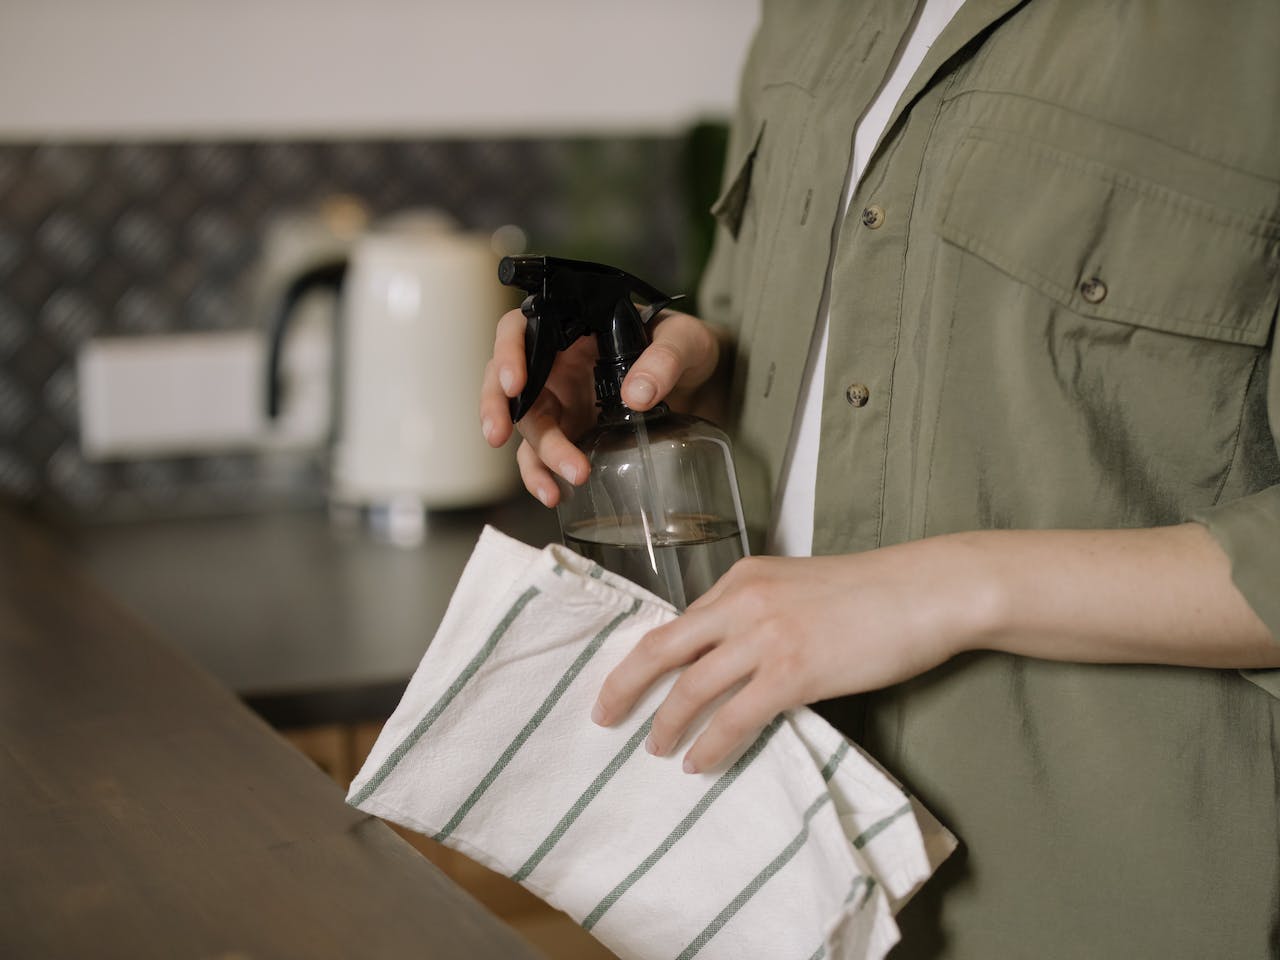
3. Gather the Right Cleaning Supplies
To achieve a successful end of lease clean, you’ll need a variety of cleaning supplies. Ensure you have the following on hand:
- All-purpose cleaners
- Glass cleaner
- Oven cleaner
- Baking soda and vinegar (great natural alternatives)
- Microfiber cloths and sponges
- Mop and bucket
- Vacuum cleaner
- Trash bags
- Scrub brushes
- Rubber gloves
- Dusting tools
Having the right tools and supplies will make your cleaning process more efficient and ensure the best possible results.
4. Pay Special Attention to the Kitchen
The kitchen is often one of the most heavily used areas in a home and can accumulate significant dirt and grime. Pay extra attention to the kitchen during your end of lease cleaning. Make sure to:
- Clean the oven thoroughly, including the oven racks.
- Wipe down all kitchen cabinets and drawers, both inside and out.
- Remove any grease and stains from the stovetop and backsplash.
- Clean and defrost the refrigerator and freezer, leaving the doors open to prevent odors.
- Scrub the sink and faucet to remove any limescale or stains.
- Empty and clean all cupboards and pantry shelves.
A sparkling kitchen is not only aesthetically pleasing but also crucial for ensuring your landlord or property manager is satisfied with the condition of the property.
5. Don’t Overlook the Bathroom
The bathroom is another area where cleanliness is of utmost importance. To ensure your bathroom is in top condition, focus on the following:
- Thoroughly clean and disinfect the toilet, including the bowl, seat, and exterior.
- Remove any mold or mildew from shower tiles and grout.
- Wipe down all bathroom surfaces, including the sink, countertops, and fixtures.
- Clean the mirror and any glass shower doors.
- Ensure there are no water spots or soap scum left on any surfaces.
A clean and hygienic bathroom is essential for end of lease cleaning, as it reflects the overall cleanliness and maintenance of the property.
6. Consider Professional Assistance
End of lease cleaning can be a time-consuming and physically demanding task, especially for larger properties. If you’re short on time or concerned about your ability to meet the stringent cleaning requirements of your lease agreement, consider hiring professional cleaners. Professional cleaning services specialize in end of lease cleaning and have the experience, tools, and knowledge to ensure the property meets the highest standards.
While this service comes at a cost, it can ultimately save you time and potentially prevent disputes with your landlord. Just be sure to schedule the cleaning well in advance of your lease expiration date to allow for any necessary touch-ups.
7. Perform a Thorough Inspection Beforehand
Before conducting your final end of lease cleaning, take some time to conduct a thorough inspection of the property. This allows you to identify any areas that may need special attention and make necessary repairs. Note any damages, no matter how minor, and address them before cleaning. Pay attention to:
- Wall marks, scuffs, or scratches.
- Broken or missing fixtures and appliances.
- Any pest infestations.
- Damaged flooring or carpets.
- Leaks or water damage.
Addressing these issues before cleaning not only ensures you don’t miss any essential repairs but also demonstrates your commitment to returning the property in the best possible condition.
Conclusion
End of lease cleaning is a critical step for both tenants and landlords. By understanding your lease agreement, creating a comprehensive cleaning checklist, and gathering the right supplies, you can streamline the process and achieve optimal results.
Paying special attention to the kitchen and bathroom, considering professional assistance if needed, and performing a thorough inspection beforehand will ensure your end of lease cleaning is a success. With these insights, you can navigate the process with confidence and ensure a smooth transition as you move on to your next chapter.